
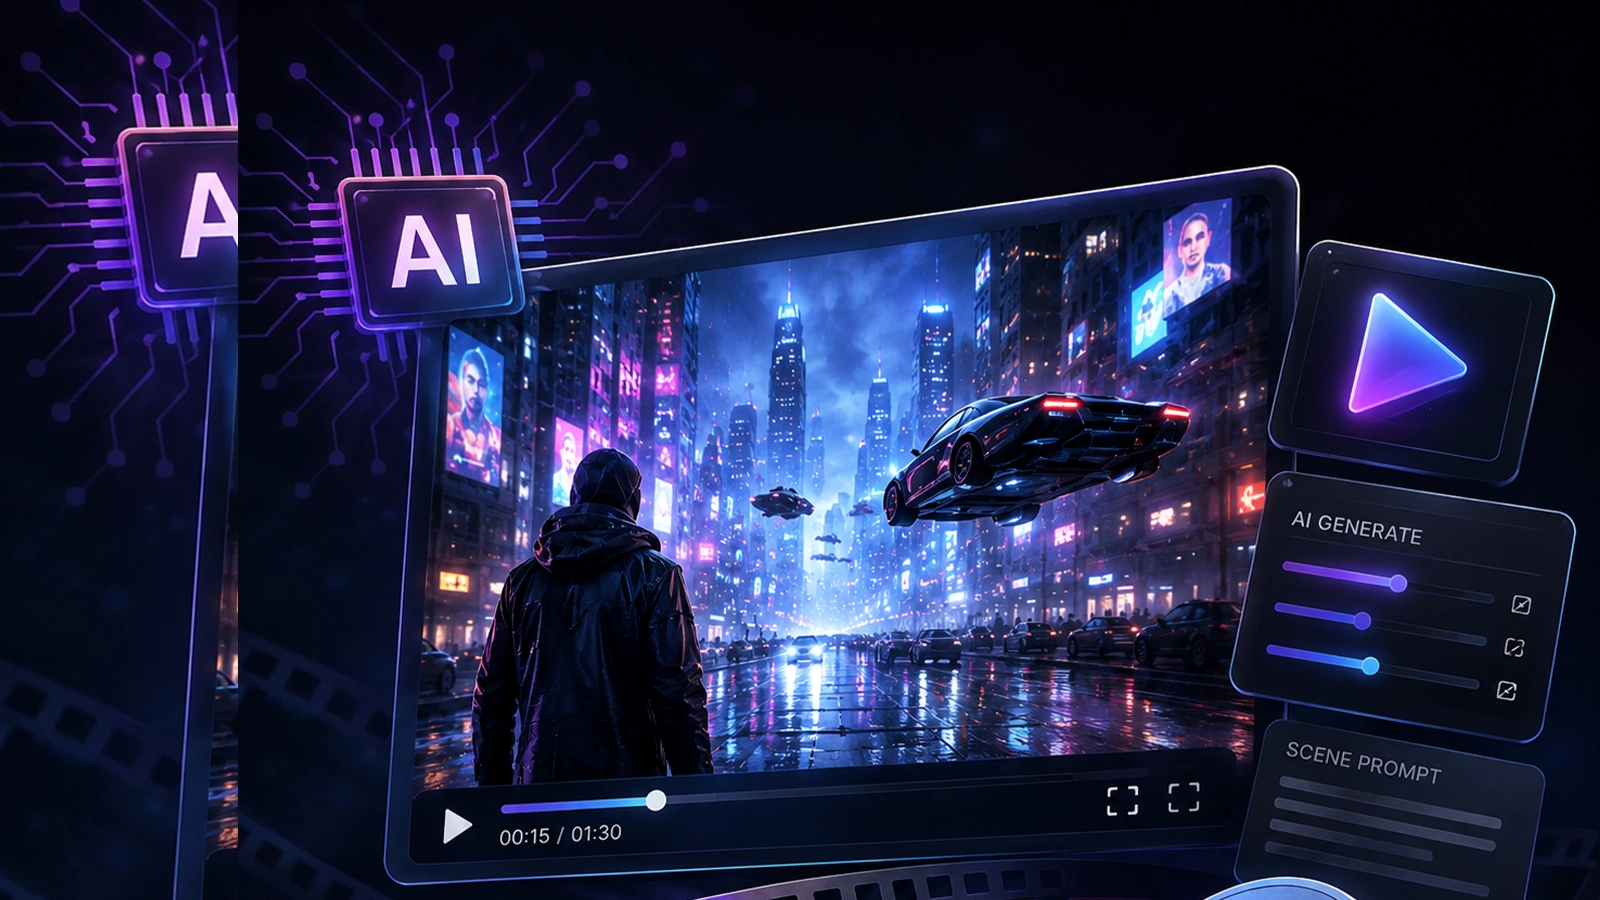
Turn a character image into a controllable 3D performance: generate the model, texture it, rig it, capture motion, clean the animation and integrate the character into a VFX shot.
The complete AI character animation workflow
This workflow is powerful because each stage solves a different problem. AI can reduce the amount of repetitive setup, while the artist remains responsible for design, quality control and the final shot.
Do not treat the generated character as finished. AI-generated geometry, UVs, textures, rigging and motion can each introduce errors. The professional workflow is generate → inspect → correct → continue.
Step 1 — Create the character image
Start with a clean reference. A character facing approximately forward, with visible limbs and simple separation from the background, is easier to turn into a useful 3D asset.
Good reference characteristics
- Full body visible
- Arms and legs separated where possible
- Clear silhouette
- Consistent proportions
- Minimal motion blur
- Useful costume and surface detail
If the final shot needs a specific costume, accessory or facial design, solve that in the reference stage rather than hoping the 3D generator will invent it correctly later.
Step 2 — Convert the image to 3D
Image-to-3D systems infer a 3D shape from one or more images. Autodesk’s Flow Studio currently uses Wonder 3D for text/image-to-3D, while Meshy supports image-to-3D and then lets the character continue into its rigging workflow.
A single image cannot reveal every hidden surface. Check the back, side profile, hands, shoes and accessories before moving on.
↓
IMAGE-TO-3D
↓
MESH + UV + TEXTURE
↓
CHECK FRONT / SIDE / BACK
↓
CLEAN GEOMETRY
↓
READY FOR RIGGING
What to inspect
| Area | Check |
|---|---|
| Face | Eyes, mouth, symmetry and silhouette. |
| Hands | Finger count, intersections and proportions. |
| Clothing | Missing surfaces and impossible folds. |
| Back | Geometry inferred from incomplete reference. |
| Feet | Correct shape and ground contact. |
Step 3 — Prepare textures
Before animation, make sure the surface will survive movement and lighting. AI texturing can accelerate material creation, but check UVs, seams, texture resolution and PBR channels.
For the complete texturing process, see Best AI 3D Texturing Tools 2026.
Keep the texture stable. A character whose surface looks different from frame to frame will feel artificial even if the animation is good.
Step 4 — Auto-rig the character
Rigging creates the skeleton and deformation system that lets the character move. Flow Studio’s AI Rigging can prepare generated characters for animation, while Meshy provides an AI auto-rigging workflow with exports for Blender, Maya, Unity and Unreal.
For a clean auto-rig result, keep the character’s pose and anatomy easy to interpret. Meshy’s current guidance recommends a T-pose or A-pose for cleaner rigging.
Rigging test
- Raise both arms.
- Bend elbows.
- Rotate shoulders.
- Squat and walk.
- Check knees and ankles.
- Test fingers if they are visible in the shot.
Step 5 — Capture the performance
Markerless AI mocap can turn ordinary video into editable motion data. Flow Studio currently supports facial, body and hand capture, while dedicated services such as QuickMagic describe a workflow from phone/webcam footage to skeletal motion and export.
Record better source footage
- Keep the full body in frame.
- Avoid strong backlighting.
- Minimize severe occlusion.
- Use a stable camera.
- Give the performer enough space.
- Record at a frame rate suitable for the intended motion.
The cleaner the source performance, the less time you spend fixing the solve.
Step 6 — Retarget and clean the animation
Motion capture is not the final animation. Retargeting maps the source movement onto your character’s skeleton, and cleanup removes artifacts.
Common issues include foot sliding, jitter, hand intersections, excessive joint rotation and root-motion problems.
| Problem | Fix |
|---|---|
| Foot sliding | Lock feet during contact and adjust root motion. |
| Jitter | Smooth curves and remove noisy frames. |
| Hand collision | Correct wrist/finger rotations and key poses. |
| Floating | Match foot contact, gravity and body weight. |
| Stiff acting | Add anticipation, overlap and hand-keyed accents. |
Houdini’s current APEX workflow, for example, supports retargeting animation from FBX onto a character and then continuing with animation processing.
Step 7 — Build the VFX shot
Now the character needs to live inside a shot. This is where the process becomes VFX rather than simply character animation.
+
TRACKED CAMERA
+
ANIMATED CHARACTER
+
LIGHT / HDRI
+
SHADOW / CONTACT
↓
VFX COMPOSITE
Flow Studio currently supports camera tracking, clean plates and editable outputs for downstream work in Maya, Blender, Unreal and 3ds Max.
Match these elements
- Camera perspective
- Character scale
- Ground contact
- Lighting direction
- Color temperature
- Shadow softness
- Depth of field
- Motion blur
- Film grain
Step 8 — Composite and grade
Even a well-animated character can look pasted into the plate if the composite is incomplete. Add the appropriate shadow, atmospheric interaction, depth cues, color treatment and grain.
Use the cleanup and relighting techniques in the Zgian AI VFX series when the shot needs additional paint or lighting work.
AI can often get you quickly to an 80% starting point. The final 20%—contact, anatomy, acting, lighting, texture consistency and compositing—is where professional quality is created.
Common problems in an AI character workflow
| Symptom | Likely cause | Solution |
|---|---|---|
| Character looks different from reference | Ambiguous image-to-3D reconstruction | Use better references or manually correct the model. |
| Bad deformation | Weak topology or auto-rig weights | Retopologize, repaint weights or adjust joints. |
| Feet slide | Mocap solve lacks contact stability | Use foot locking and keyframe correction. |
| Hands look wrong | Occlusion or difficult hand tracking | Clean hand poses manually. |
| Character floats in scene | Scale, camera or shadow mismatch | Check ground contact and camera solve. |
| Character looks too clean | Missing plate interaction | Add grain, blur, shadow, atmospheric effects and color integration. |
Final VFX checklist
- Character proportions match the reference.
- Mesh has no visible broken areas.
- UVs and textures are stable.
- Rig deformation works in the required poses.
- Motion has clean foot and hand contact.
- Animation timing supports the shot.
- Camera perspective matches the plate.
- Lighting direction and color match.
- Shadows/contact match the environment.
- Motion blur and depth of field match.
- Final composite has consistent grain and color.
- Shot has been reviewed at final delivery resolution.
Recommended Zgian production pipeline
The exact applications can change, but the principle stays the same: use AI to accelerate the repetitive stages while keeping editable 3D and compositing control wherever the final shot requires it.
Frequently asked questions
Can I turn one image into an animated 3D character?
Yes. Current AI workflows can generate a 3D character from an image, auto-rig it and apply motion. Flow Studio and Meshy both support parts of this end-to-end workflow.
What is the easiest AI character animation workflow?
A practical route is image-to-3D, AI auto-rigging, markerless video-to-motion, retargeting and then animation cleanup in a 3D application.
Can I use a phone for AI mocap?
Yes. Markerless systems can work from phone or webcam footage when the performance is clearly visible. Autodesk and QuickMagic both document camera-based workflows.
Should I use AI animation for a professional VFX shot?
Yes as a starting point, especially for blocking, secondary characters and rapid iteration. Hero shots should receive manual animation and compositing polish.
What software should I use after AI generation?
Use the 3D tool that gives you the control your shot needs. Flow Studio supports exports to Maya, Blender, Unreal and other workflows; Houdini also provides production retargeting and animation-processing tools.
Continue the Zgian AI + 3D series
3D Generalist & VFX Professional · About the author →