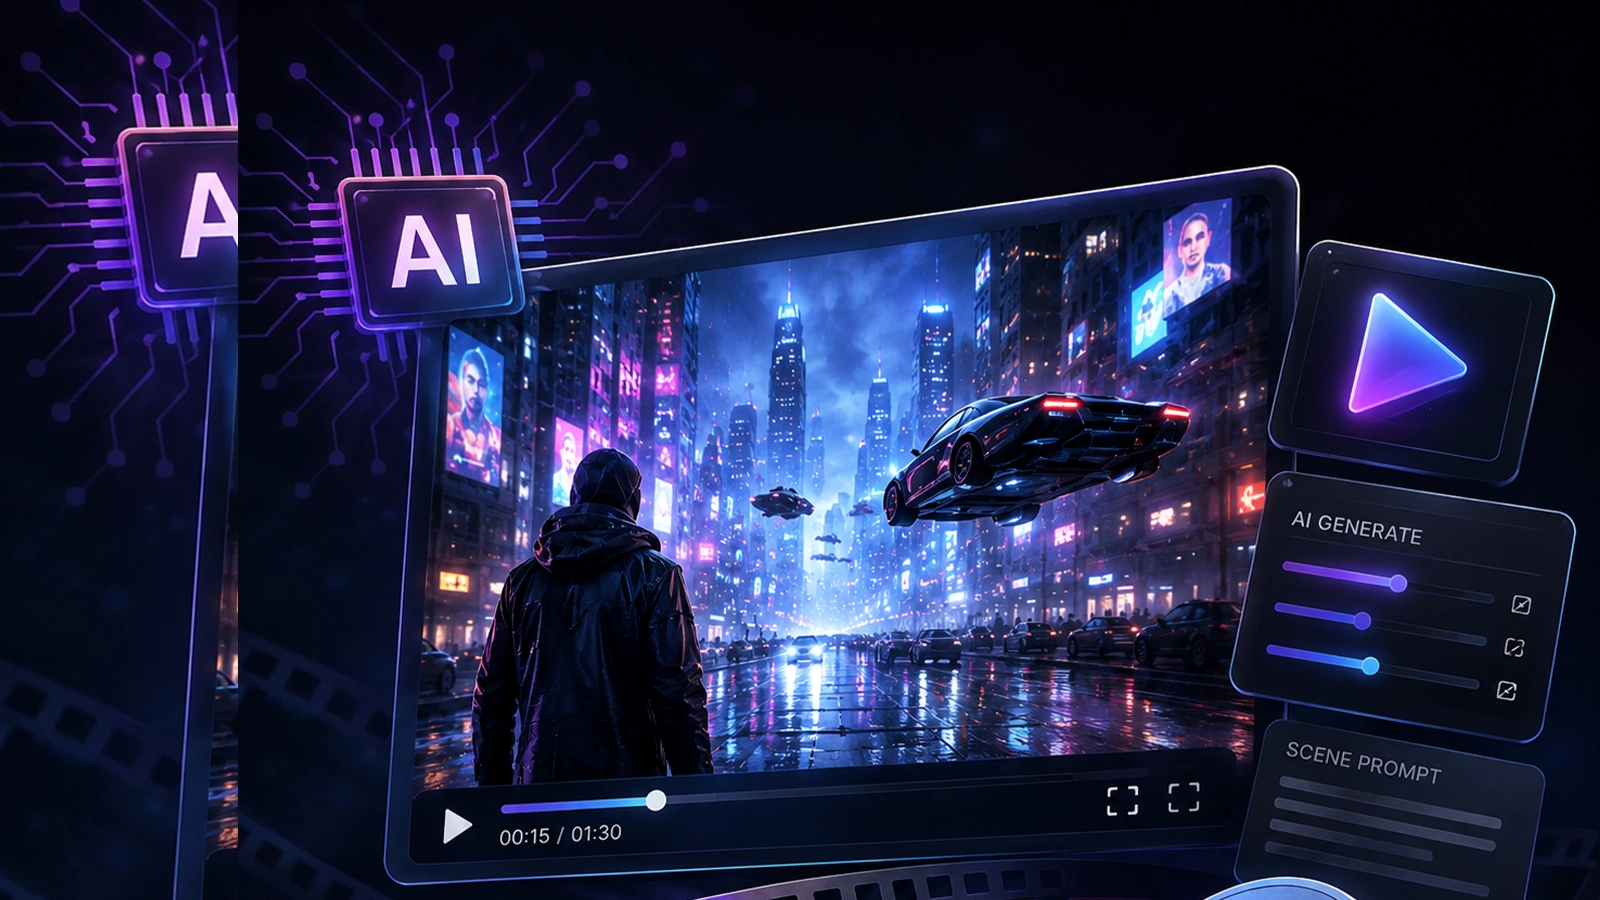
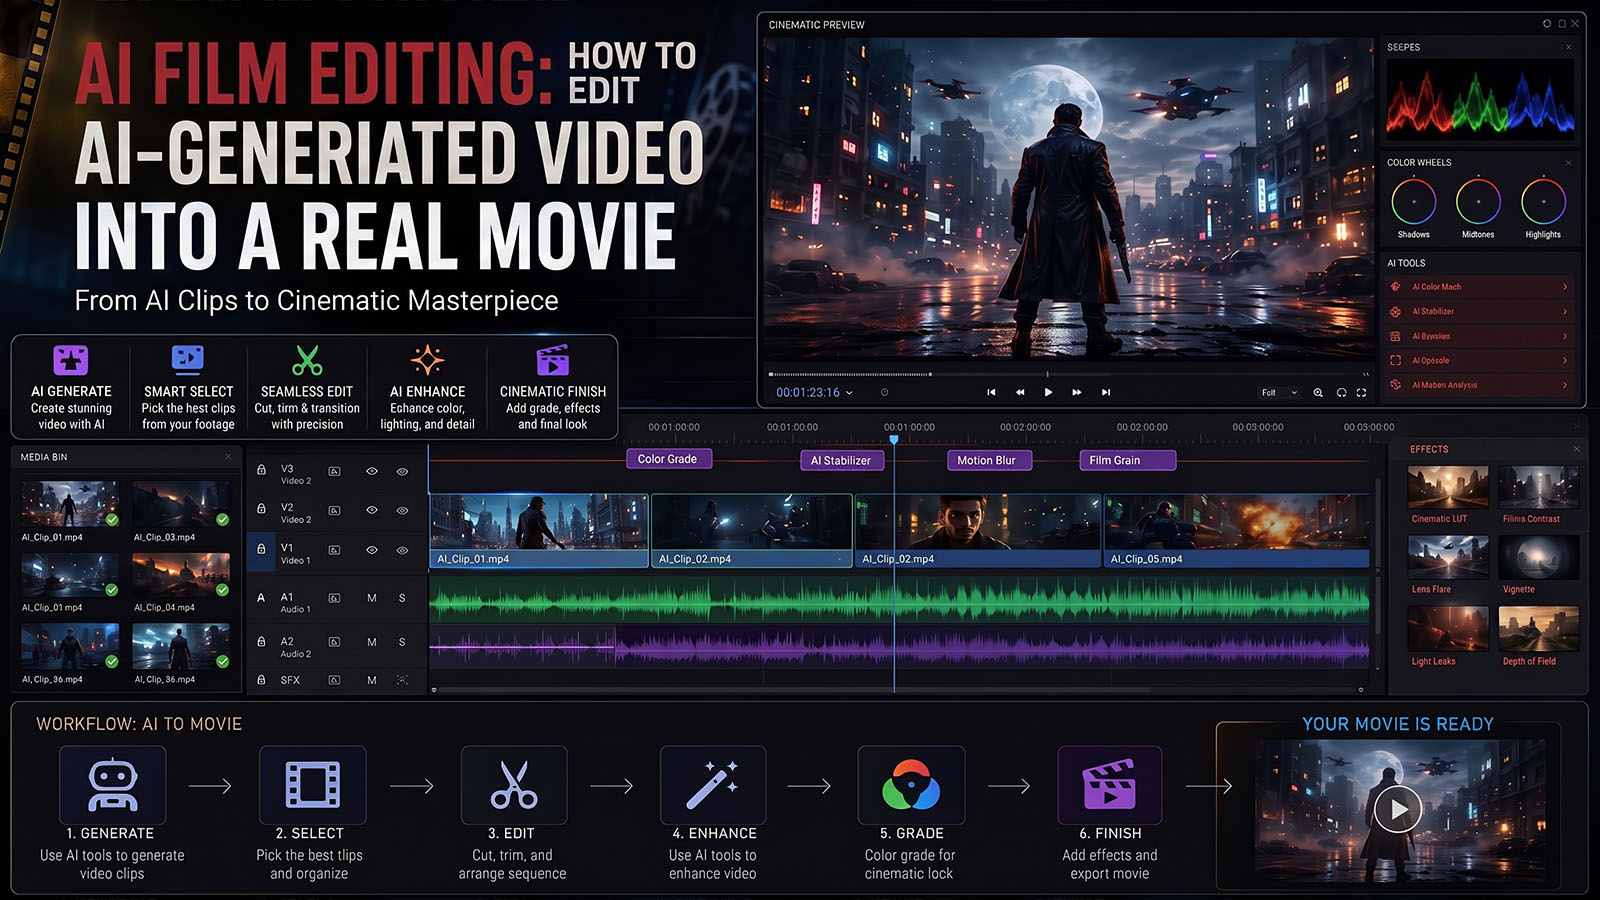


Generated clips are only raw material. Learn how to select, assemble, pace, connect and finish AI video so the result feels like a directed film instead of a slideshow of unrelated shots.
- Why editing AI video is different
- Organize the generated footage
- Select takes before polishing
- Build the rough cut
- Use editing to control continuity
- Control pacing and performance
- Build dialogue, music and sound
- VFX and local AI fixes
- Color and visual consistency
- Where AI helps the editor
- Complete editing workflow
- Common mistakes
- Final QC and delivery
- FAQ
1. Why editing AI video is different
A conventional shoot gives the editor footage captured from a shared physical world. AI video often gives you short clips generated independently. That means continuity—face, wardrobe, lighting, geography, motion and even the logic of an object—must be actively managed.
Recent 2026 editing guidance describes this as an assembly problem: generation creates options, while editing turns approved options into a narrative.
EDITORIAL = SELECT + ORDER + PACE + CONNECT
POST = SOUND + VFX + COLOR + MASTER
2. Organize the generated footage
Before editing, make the footage searchable. Do not throw hundreds of generative clips onto a timeline and start cutting randomly.
| Folder / bin | Purpose |
|---|---|
| 01_SELECTS | Clips that already pass visual QC. |
| 02_SCENE_01 | All versions for a specific scene. |
| 03_CHARACTER | Approved identity references and continuity frames. |
| 04_CUTAWAYS | Inserts, hands, objects, environment and reaction shots. |
| 05_AUDIO | Dialogue, voice, ambience, SFX and music. |
| 06_VFX | Plates, masks, elements and final composites. |
| 07_EXPORTS | Review files and masters. |
Use meaningful filenames such as SC03_SH07_MCU_Maya_pushin_v03. Add a note for the reason a take passed or failed.
3. Select takes before polishing
Generate multiple options when a shot is important, then judge them in context. A beautiful isolated clip may be unusable because the character enters from the wrong side or the previous shot ends on the opposite eyeline.
| Selection test | Question |
|---|---|
| Story | Does the shot communicate the intended beat? |
| Performance | Does the character’s action/emotion work? |
| Continuity | Does it connect to adjacent shots? |
| Camera | Does framing and movement match the plan? |
| Technical | Are there distracting artifacts, warps or temporal errors? |
Current AI-video workflows increasingly recommend short shot units and early rejection of visual drift rather than trying to rescue every generation.
4. Build the rough cut first
The first timeline should answer one question: Does the film work? Ignore perfect color, transitions and tiny artifacts until the story is functioning.
- Place the approved shots in story order.
- Trim away dead frames and unusable motion.
- Use the strongest action point of each clip.
- Keep transitions simple.
- Add temporary dialogue if available.
- Watch the sequence from beginning to end.
- Write down problems instead of stopping every few seconds to polish.
Never polish a scene that you may later delete. Solve story, structure and pacing first.
5. Use editing as the continuity-control layer
Editing cannot magically make every generation identical, but it can hide or redirect small inconsistencies. The cut itself becomes part of the AI-production strategy.
| Problem | Editorial solution |
|---|---|
| Face changes slightly | Use a shorter shot, reaction shot or cutaway. |
| Background shifts | Cut before the shift becomes obvious; use an insert. |
| Hand/object warps | Cut to another angle or remove the affected frames. |
| Motion doesn’t match | Cut on action or use a bridging insert. |
| Lighting changes | Use a transitional shot, grade the mismatch or regenerate. |
| Continuous action breaks | Use frame chaining when generating the next shot. |
Frame chaining—using the final frame of one shot as the starting reference for the next—is one current AI-specific way to improve continuity across a cut.
6. Control pacing and performance
AI clips often arrive at their maximum generated duration, not their ideal editorial duration. Cut based on information and emotion, not the fact that a clip exists.
| Beat | Editorial decision |
|---|---|
| Setup | Stay long enough for geography to register. |
| Reaction | Hold until the emotional information lands. |
| Action | Cut around the strongest movement. |
| Reveal | Delay the cut until the audience discovers the information. |
| Transition | Cut when the next shot adds new information. |
For AI films, pacing is especially important because short generated clips can feel repetitive when each is shown from beginning to end. Current episode-assembly guidance recommends trimming around useful action and controlling pacing through story information.
7. Build dialogue, music and sound
Sound is not a final decoration. It can hide visual seams, connect locations and make short AI clips feel like one continuous performance.
- Build dialogue timing before final sound design.
- Use room tone/ambience to bridge cuts.
- Use J-cuts to introduce dialogue before the visual cut.
- Use L-cuts to let dialogue continue after the picture changes.
- Use footsteps and action sounds to reinforce movement.
- Use music to shape the emotional rhythm.
- Keep temporary sound during the rough cut, then replace it during finishing.
Current AI post-production workflows also use AI for dialogue cleanup, transcription and sound generation, while human editors still decide how sound supports the story.
8. VFX and local AI fixes
Do not regenerate an entire shot just because one small area is wrong. If the shot is strong, consider a targeted fix, paint-out, cleanup, mask, composite or local AI edit.
| Issue | Preferred approach |
|---|---|
| Small unwanted object | Local removal / cleanup. |
| Broken prop detail | Patch, replace or regenerate a local region. |
| Wire / rig artifact | Roto + paint or AI-assisted removal. |
| Background issue | Mask/rebuild if subject is good. |
| Whole shot is wrong | Regenerate from the approved reference. |
Adobe’s current Premiere Generative Media workflow can generate video or sound effects directly in the timeline, use reference frames and immediately return editable media to the sequence.
9. Color and visual consistency
Independent AI generations can vary in exposure, contrast, white balance, saturation and perceived lens rendering. Color correction should unify the sequence after editorial structure is stable.
- Normalize exposure.
- Balance white point.
- Match skin tones.
- Match contrast and black level.
- Match saturation.
- Apply the creative grade.
- Review the film continuously, not just shot by shot.
Current AI post-production tools can assist with color matching, but creative grading remains a human judgment task in today’s workflow.
10. Where AI helps the editor in 2026
| Task | Useful AI assistance | Human responsibility |
|---|---|---|
| Transcription | Speech-to-text and searchable dialogue. | Choose the meaningful performance. |
| Rough cut | Suggest selects and assemblies. | Approve structure and rhythm. |
| Clip search | Find shots by words, objects or descriptions. | Judge relevance in context. |
| Cleanup | Noise, object and wire removal. | Check artifacts. |
| Generative fill | Create missing visual/audio material. | Control continuity and appropriateness. |
| Captions | Automatic subtitle generation. | Correct names, timing and style. |
| Color assistance | Match shots and suggest adjustments. | Set the final look. |
Recent 2026 post-production guidance describes AI as an assistant layer for repetitive work while keeping editorial judgment with the human editor.
11. Complete Zgian AI film editing workflow
02 ORGANIZE
03 SELECT
04 ROUGH CUT
05 CONTINUITY PASS
06 PACING PASS
07 DIALOGUE
08 SOUND DESIGN
09 VFX
10 COLOR
11 TITLES / SUBTITLES
12 QC
13 MASTER
14 ARCHIVE
- Generate from approved previs.
- Organize all versions.
- Select only shots that pass basic QC.
- Build the story cut.
- Fix continuity.
- Refine pacing.
- Lock dialogue.
- Build sound.
- Complete VFX.
- Color-match and grade.
- Add titles and delivery graphics.
- QC the entire film.
- Export the master and required versions.
- Archive project files and approved assets.
12. Common AI film-editing mistakes
| Mistake | Why it fails | Better approach |
|---|---|---|
| Using every generated clip | Creates repetitive pacing. | Curate aggressively. |
| Editing isolated shots | Continuity breaks appear at the cut. | Judge adjacent shots together. |
| Polishing too early | Wastes time on deleted scenes. | Rough cut first. |
| Adding transitions everywhere | Makes the film feel synthetic. | Use simple cuts unless a transition has purpose. |
| Ignoring sound | Visual seams become obvious. | Use dialogue, ambience and sound bridges. |
| Regenerating whole shots for local errors | Throws away good motion and continuity. | Try local fixes first. |
| Letting AI make the final creative decisions | Weakens narrative intent. | Use AI for assistance; keep editorial authority. |
13. Final QC and delivery
- Watch the entire film without stopping.
- Check story clarity.
- Check character continuity.
- Check screen direction and geography.
- Check frame-to-frame artifacts.
- Check dialogue sync.
- Check music and sound levels.
- Check VFX edges and composites.
- Check color consistency.
- Check titles and subtitles.
- Check aspect ratio and frame rate.
- Export a review master.
- Perform final playback from the actual exported file.
- Archive the project, sources, references and final masters.
How this fits the Zgian AI filmmaking pipeline
02 CAMERA → AI Video Camera Control
03 STORYBOARD → AI Storyboarding
04 PREVIS → AI Previsualization
05 GENERATION → AI Filmmaking Hub
06 EDITING → this guide
07 VFX → VFX Hub
08 FINISHING → Color + Sound + Master
Frequently asked questions
How do I edit AI-generated video into a movie?
Organize and select the best clips, build a rough narrative cut, solve continuity, shape pacing, add dialogue and sound, finish VFX and color, then perform final QC. The editing stage is what turns independent generations into a coherent sequence.
Should I edit AI video differently from normal video?
The core editorial principles are the same, but AI footage requires more active continuity management because shots may have been generated independently. You often need more cutaways, reference-led regeneration and selective local fixes.
Can AI edit a whole film automatically?
AI can assist with transcription, search, rough cuts, cleanup and other repetitive tasks, but current workflows still rely on human editorial judgment for rhythm, emotion, story and final decisions.
How can I hide AI video continuity problems?
Use shorter shots, cut on action, add reaction shots or inserts, use sound bridges, match screen direction, and regenerate only the shots that remain visibly distracting. Frame chaining can help when continuous action needs to cross a generation boundary.
Should I add sound before or after editing?
Use scratch dialogue and temporary sound during the rough cut so pacing can be judged. Build final sound design after the picture structure is stable.
Continue the Zgian AI Filmmaking series
3D Generalist & VFX Professional · About the author →