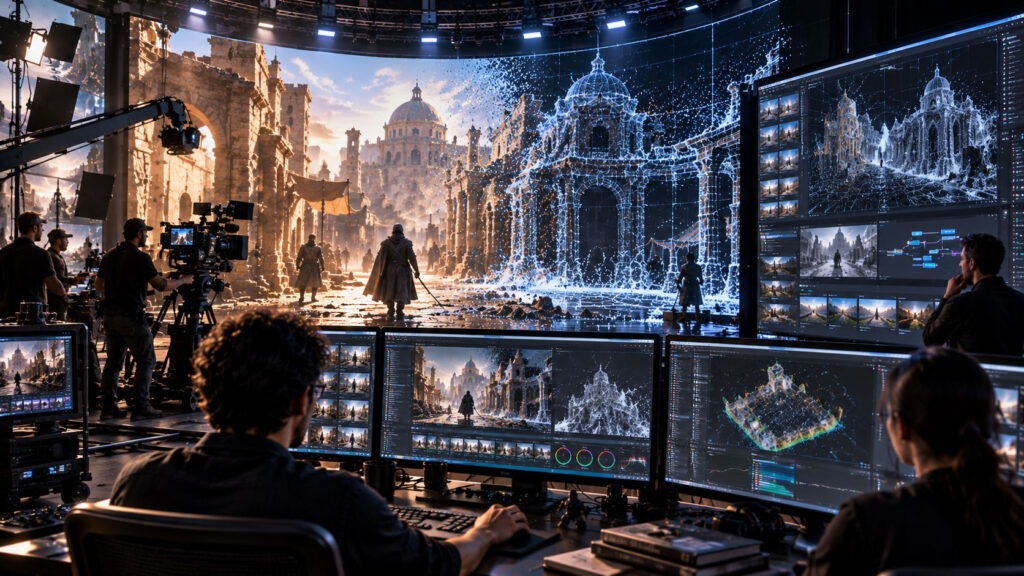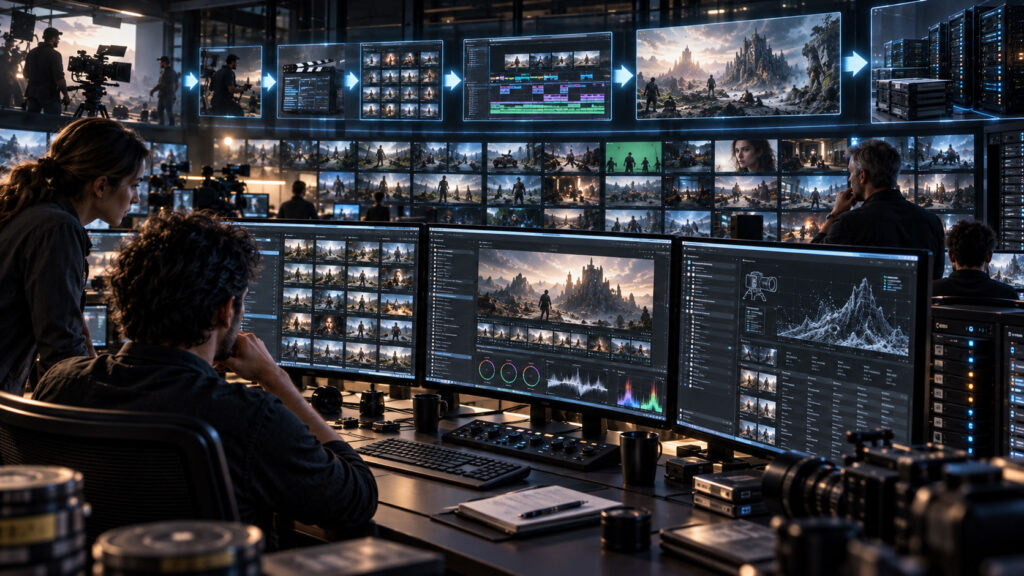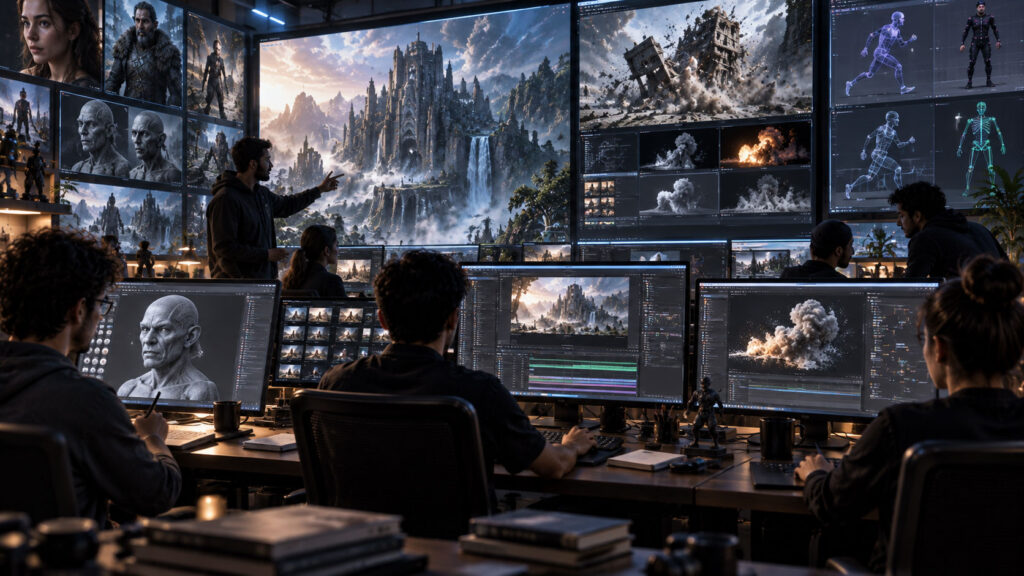
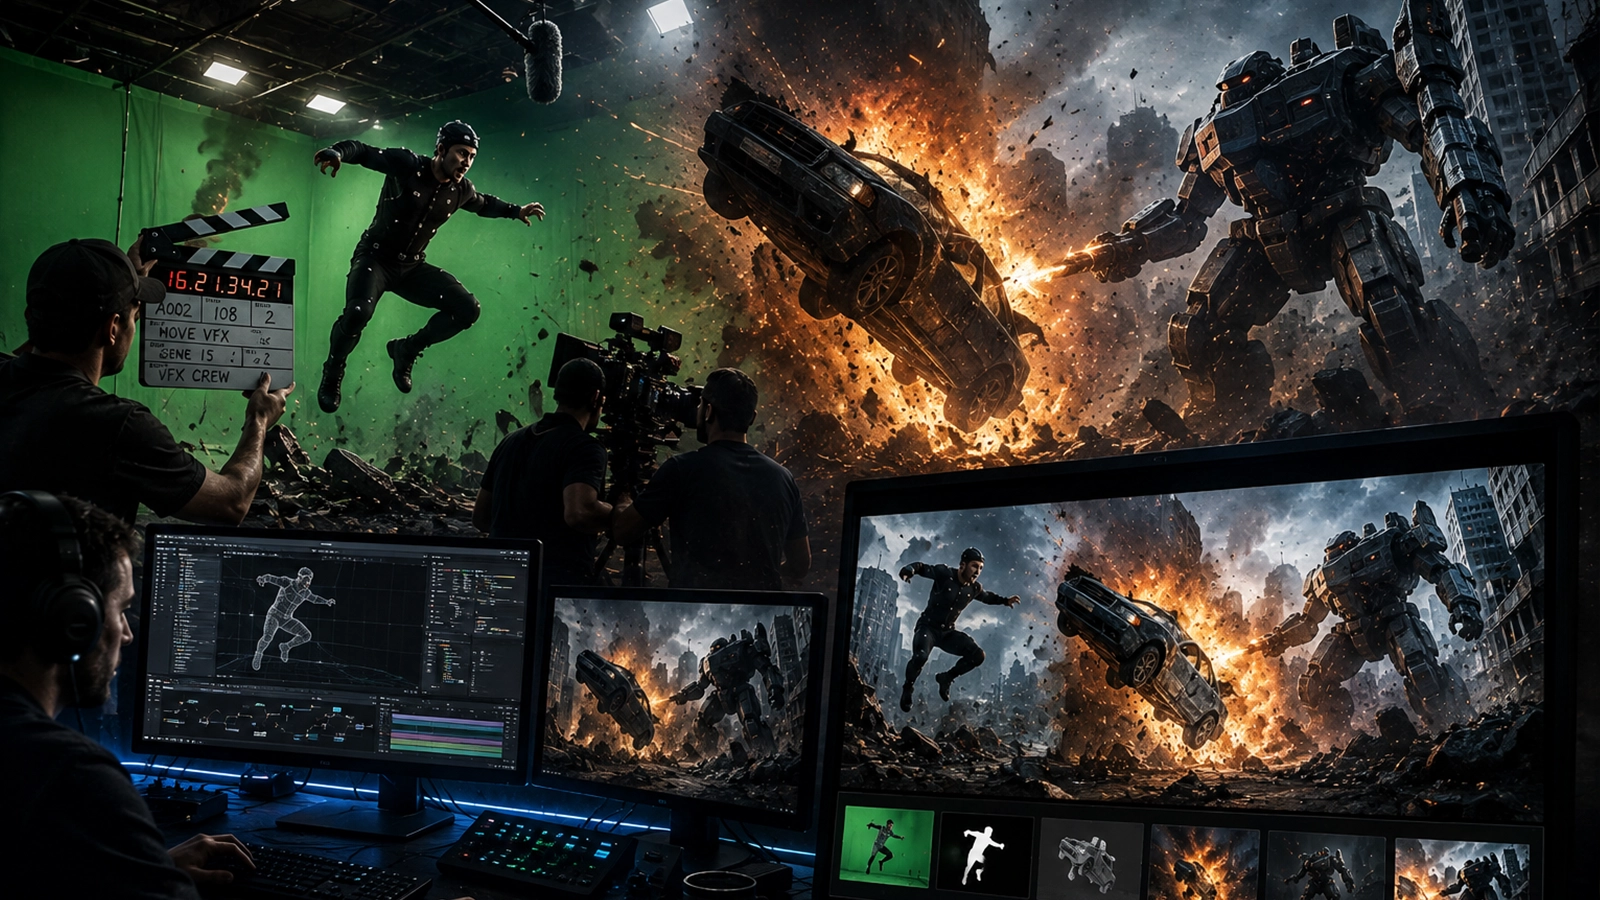
Now every approved scene becomes a camera plan. We translate story beats into shot IDs, framing, lens language, camera movement, blocking, coverage and storyboard references ready for AI generation.
🎥 Production Decision #5
The film now has approved scenes. This stage turns them into repeatable camera instructions and visual references that can be tested before final generation.
- Why shot design matters
- Create stable shot IDs
- Choose framing
- Camera height and angle
- Lens language
- Camera movement
- Composition
- Blocking
- Eyelines and screen direction
- Coverage
- Storyboard frames
- AI storyboard prompts
- Prompt modularity
- Lighting continuity
- Motion and action timing
- Shot continuity
- Common shot-design mistakes
- Storyboard approval gate
- Production shot template
- Next production decision
1. Why shot design matters
A scene tells the story; a shot decides how the audience experiences it. Shot design translates approved scene beats into repeatable camera instructions that AI generation can follow.
2. Create stable shot IDs
Assign every shot a unique ID and keep it unchanged through storyboards, prompts, generations, VFX and editorial. This becomes the backbone of the production tracker.
3. Choose framing
Select wide, full, medium, close-up, extreme close-up or detail framing according to story purpose. Framing should reveal information rather than simply look cinematic.
4. Camera height and angle
Camera height and angle affect character power, intimacy, geography and visual emphasis. Record these choices so coverage remains coherent.
5. Lens language
Choose lens families deliberately. Wide lenses can emphasize space and proximity; longer lenses can compress space and isolate subjects. Consistency matters more than arbitrary lens numbers.
6. Camera movement
Use static, pan, tilt, dolly, tracking, crane, handheld or other movement only when it supports the scene. Movement should have a beginning, purpose and end.
7. Composition
Define subject placement, foreground, background, negative space, leading lines and visual balance. Composition should direct attention to the important story beat.
8. Blocking
Plan where characters start, move and finish inside the environment. Blocking should respect doors, furniture, props, geography and eyelines established in the World Bible.
9. Eyelines and screen direction
Maintain consistent eyelines and screen direction across coverage unless a deliberate transition is planned. This protects spatial clarity in the edit.
10. Coverage
Design the minimum useful coverage first, then add optional shots. A master, medium, close-up, reaction and detail can often provide a strong editorial foundation.
11. Storyboard frames
Create storyboard frames that represent the approved camera, blocking and composition. The storyboard is a visual contract between scene intent and generated footage.
12. AI storyboard prompts
Use structured prompts that combine character reference, world reference, camera, composition, lighting, action and continuity constraints.
13. Prompt modularity
Do not rewrite every prompt from zero. Maintain reusable blocks for identity, location, camera style, lighting and negative constraints, then add shot-specific action.
14. Lighting continuity
Attach the approved lighting state to each shot. If a character crosses from daylight to practical interior light, record the transition explicitly.
15. Motion and action timing
Describe the start pose, movement, interaction and end state. Clear temporal descriptions help generated video and later editing remain aligned with the screenplay.
16. Shot continuity
Before generating final shots, compare neighboring shots for character identity, wardrobe, props, environment, camera geography and lighting.
17. Common shot-design mistakes
Avoid random lens changes, unnecessary camera movement, inconsistent screen direction, impossible blocking and compositions that hide the story beat.
18. Storyboard approval gate
Approve the storyboard before large-scale video generation. It is cheaper to change a frame or camera plan than to regenerate a finished sequence.
19. Production shot template
Each shot record should include ID, scene, purpose, framing, lens family, camera position, movement, blocking, dialogue/action, lighting, reference assets and prompt version.
20. Next production decision
With approved shot designs and storyboards, the next stage is previsualization and animatics: testing timing, blocking, camera movement and scene rhythm before final generation.
The Shot Design Pipeline
↓
02 SHOT ID
↓
03 PURPOSE
↓
04 FRAMING
↓
05 CAMERA HEIGHT / ANGLE
↓
06 LENS
↓
07 MOVEMENT
↓
08 COMPOSITION
↓
09 BLOCKING
↓
10 COVERAGE
↓
11 STORYBOARD
↓
12 AI PROMPT
↓
13 CONTINUITY CHECK
↓
14 SHOT LOCK
Connection to the Practical AI Film Series
AI Film Production 5.0 → Screenplay & Scene Breakdown
AI Film Production 6.0 → this guide
Next → Previsualization and animatics.
Frequently asked questions
Why create storyboards before AI video?
Storyboards let you test composition, blocking and camera choices cheaply before committing time to final video generation.
Should every shot use a different lens?
No. A coherent lens language is usually more valuable than constant variation. Choose lens families that support the film’s visual identity and scene geography.
What should an AI shot prompt contain?
At minimum, use the approved character and world references, camera/framing, composition, lighting, action and continuity constraints.
When is a shot ready for final generation?
After its purpose, camera, blocking, composition, storyboard and continuity checks are approved.