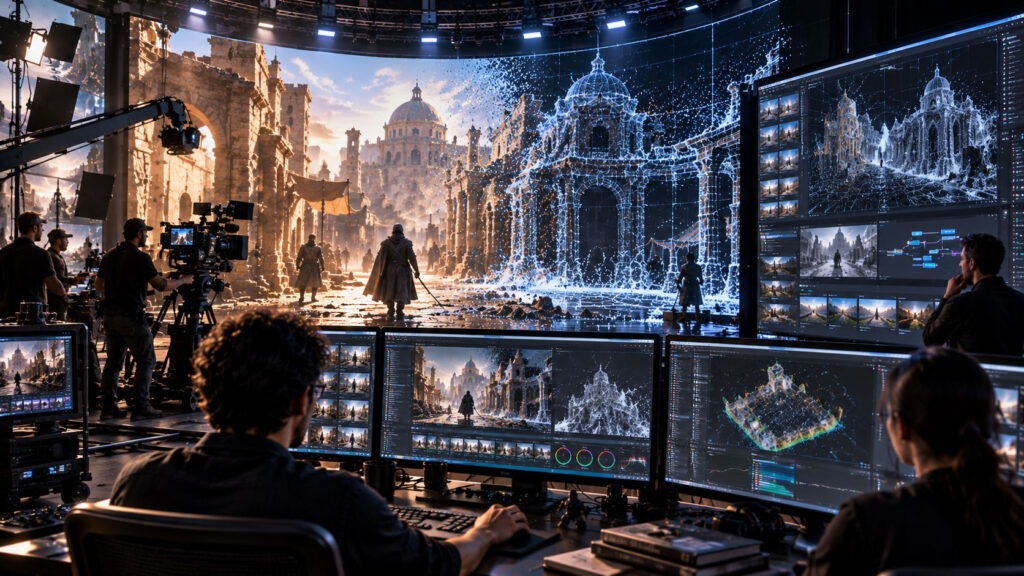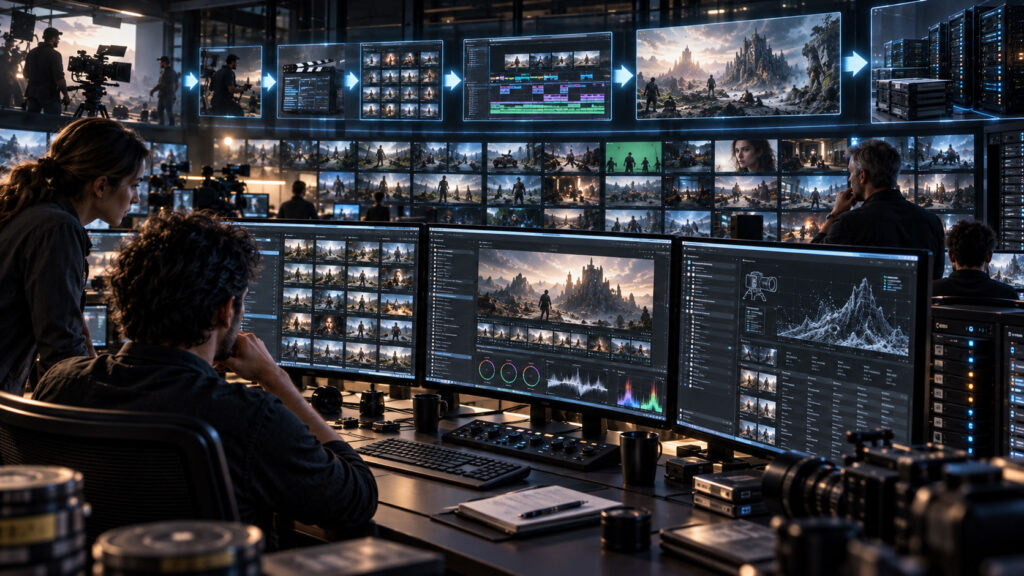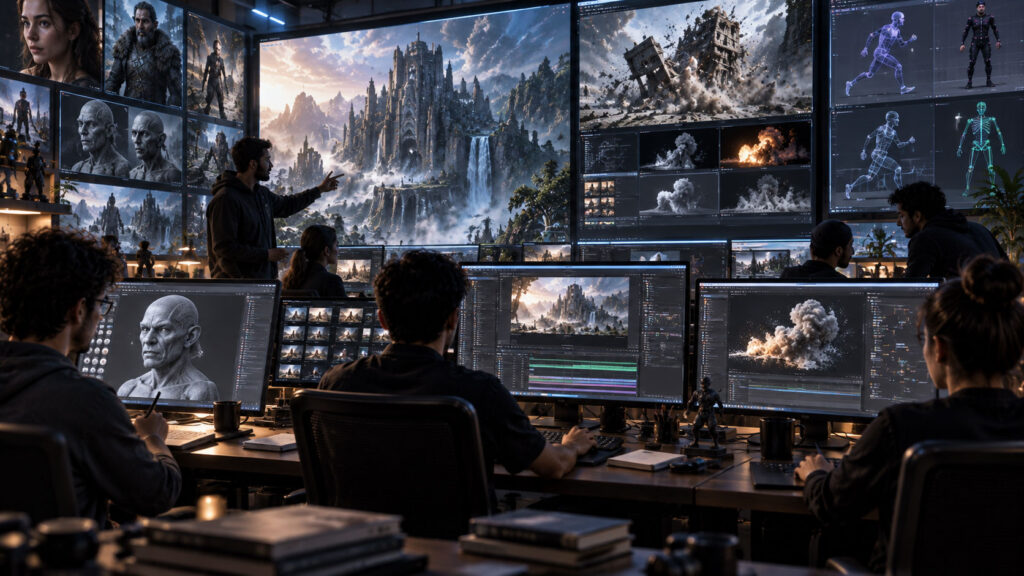
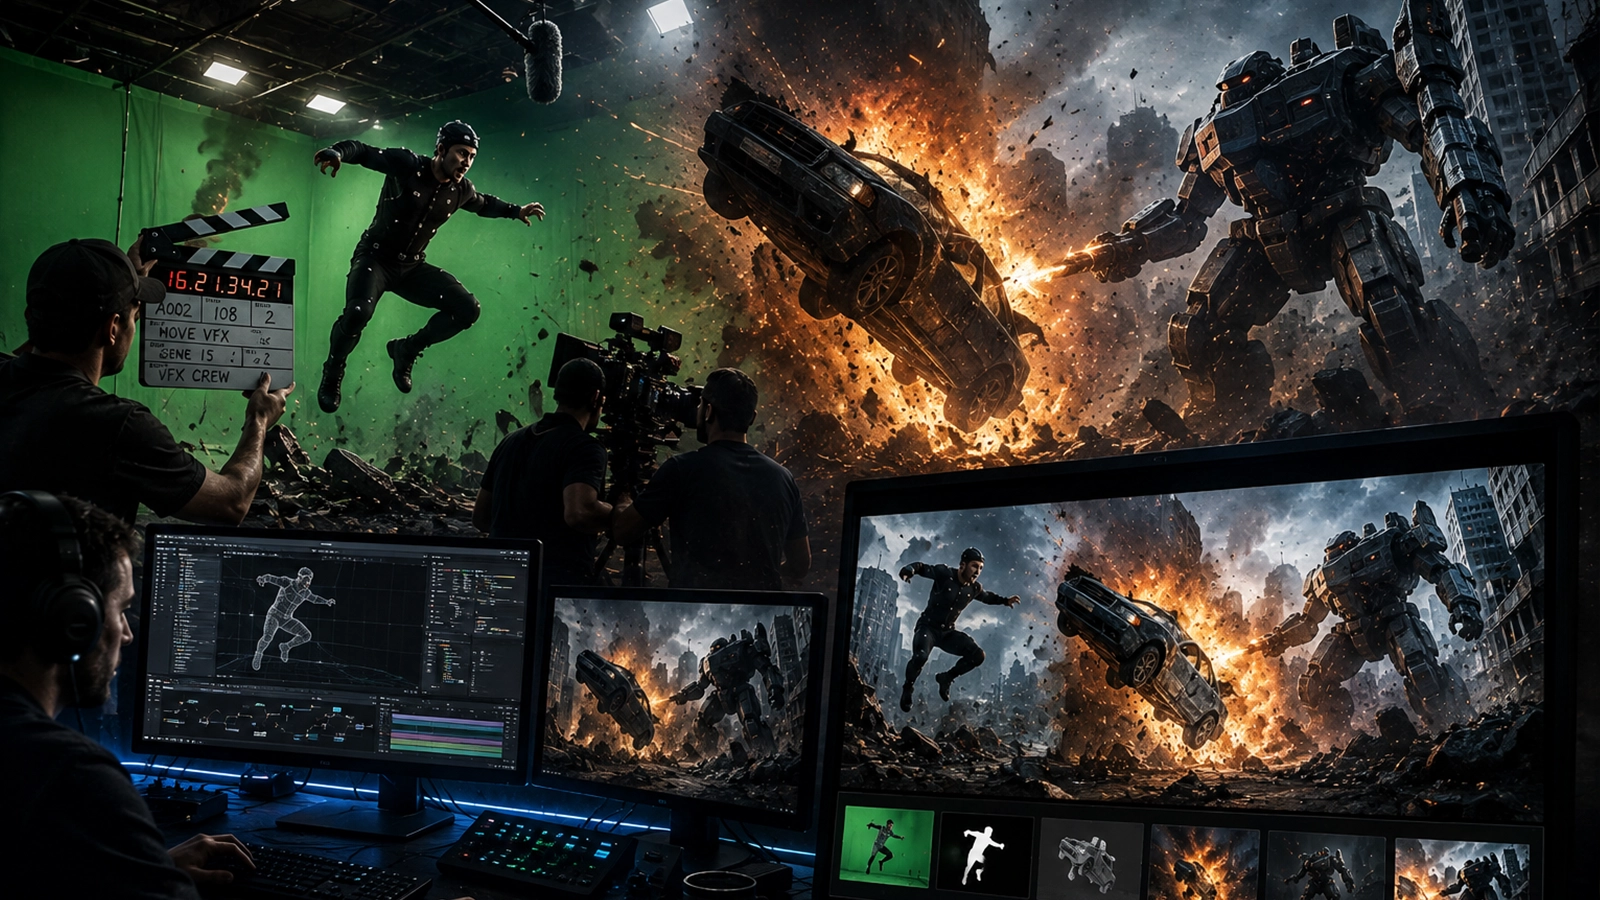
Modern AI roto can accelerate object isolation, but professional mattes still depend on tracking, edge judgment, motion-blur awareness and careful temporal cleanup.
- What advanced roto means
- Defining the roto target
- AI-assisted matte generation
- Tracking and propagation
- Hair and fine detail
- Motion blur
- Edge refinement
- Matte cleanup
- Complex objects and occlusion
- Using the matte in compositing
- Tools and workflow choices
- Common mistakes
- Complete workflow
- Final QC
- FAQ
1. What advanced roto means
Rotoscoping creates masks or mattes that separate objects from a shot. Advanced roto combines AI segmentation, tracking, manual shape work and edge treatment to create a reliable result.
→ TARGET DEFINITION
→ AI MATTE
→ TRACK / PROPAGATE
→ MANUAL CORRECTION
→ EDGE / HAIR
→ MATTE QC
→ COMPOSITING
A production matte may be used for grading, replacement, cleanup, CG integration, relighting or background manipulation.
2. Defining the roto target
Before generating a matte, decide exactly what needs to be isolated. A single “person” matte may be insufficient if the shot requires separate control of hair, clothing, hands, props or overlapping objects.
| Target | Recommended separation |
|---|---|
| Person | Body, hair and sometimes clothing/prop mattes. |
| Vehicle | Body, wheels, glass and reflections when needed. |
| Weapon/prop | Separate prop from hands and body. |
| Hair | Fine-detail or soft matte. |
| Glass | Transparency/reflection-aware treatment. |
3. AI-assisted matte generation
AI segmentation can identify a subject from context and propagate the result through frames. This is especially useful for initial isolation, but unusual poses, occlusions and fine edges can still require correction.
| AI strength | Best use |
|---|---|
| Subject segmentation | Fast initial matte. |
| Temporal propagation | Carry a matte through predictable motion. |
| Object identification | Separate selected props or characters. |
| Fine-edge estimation | Assist with hair and soft boundaries. |
Keep the original AI result available so corrections can be compared and revised without destroying the source solution.
4. Tracking and propagation
Tracking reduces the amount of manual animation required. A good workflow combines object or point tracking with AI propagation and artist keyframes.
→ PROPAGATE
→ CHECK
→ CORRECT
→ PROPAGATE AGAIN
→ FINAL MATTE
Use more frequent corrections when the object changes direction, becomes occluded, crosses another object or changes shape.
5. Hair and fine detail
Hair requires a different mindset from a solid object. The boundary can be semi-transparent, motion blurred and affected by background color.
- Separate solid hair from flyaways.
- Preserve natural softness.
- Avoid excessive choking.
- Use dedicated hair mattes where needed.
- Review against the final background.
Do not force every strand into a hard binary mask. Fine hair often needs a soft alpha representation.
6. Motion blur
Motion blur is part of the photographed object. Removing it completely can make the roto edge look unnaturally sharp, while adding too much blur can make the object lose definition.
| Situation | Approach |
|---|---|
| Fast moving solid object | Preserve directional blur. |
| Slow movement | Maintain subtle edge softness. |
| Heavy blur | Use motion-aware matte interpretation. |
| Replacement shot | Match the new element’s blur to the plate. |
See AI Motion Blur & Frame Interpolation for related temporal techniques.
7. Edge refinement
Roto edges should respond to the photographed subject, not to a generic blur setting. Different regions can need different treatment.
| Edge type | Typical treatment |
|---|---|
| Hard prop edge | Clean, controlled contour. |
| Soft fabric | Moderate softness and variation. |
| Hair | Soft alpha and fine detail. |
| Glass | Transparency and reflection treatment. |
| Motion-blurred edge | Preserve directional softness. |
8. Matte cleanup
A matte should be checked as a separate image and as a composite. Look for holes, chatter, edge crawling, accidental inclusions and unwanted gaps.
→ HOLES
→ CHATTER
→ EDGE CRAWL
→ UNWANTED OBJECTS
→ MISSING DETAIL
→ TEMPORAL CONSISTENCY
Use dilate/erode, feathering and localized masks carefully. Global adjustments often fix one area while damaging another.
9. Complex objects and occlusion
Occlusion is where many automated roto systems struggle. When one object passes in front of another, the target’s visible shape changes and the tracker can lose identity.
| Problem | Solution |
|---|---|
| Object crosses another object | Split the roto into layers. |
| Hand crosses face | Separate hand and face mattes. |
| Prop enters frame | Animate a new matte region. |
| Subject exits frame | Trim and restart tracking when needed. |
| Heavy occlusion | Use manual keyframes around the difficult section. |
10. Using the matte in compositing
A strong matte gives the compositor precise control over the image. It can isolate color correction, add CG, replace backgrounds, remove objects or create atmospheric effects.
| Use | Example |
|---|---|
| Selective grade | Change the subject without affecting the background. |
| CG integration | Place a digital object behind or in front of the subject. |
| Background replacement | Combine the subject with a new environment. |
| Cleanup | Protect an area while removing another object. |
| Atmosphere | Add fog or depth behind the isolated subject. |
Continue with AI Compositing and AI Green Screen & Keying for integration and keying workflows.
11. Tools and workflow choices
| Category | Role |
|---|---|
| AI segmentation | Initial subject isolation. |
| Roto spline tools | Precise manual shape control. |
| Planar/object tracking | Move shapes with the shot. |
| Matte tools | Edge, alpha and cleanup operations. |
| Compositor | Use mattes for the final image. |
The ideal tool is the one that lets an artist quickly inspect, correct and version the matte. Production reliability matters more than the number of AI features.
12. Common mistakes
| Mistake | Why it fails | Better approach |
|---|---|---|
| One matte for everything | Different edges need different treatment. | Split complex subjects into logical regions. |
| Too few corrections | Occlusions cause shape drift. | Add keyframes around difficult motion. |
| Over-choking | Fine detail disappears. | Use localized edge controls. |
| Ignoring blur | Edges look cut out. | Preserve photographed motion characteristics. |
| Checking only still frames | Temporal chatter remains hidden. | Always review the matte in motion. |
| No final-background test | Integration problems are missed. | Review over the actual composite. |
13. Complete Zgian AI Rotoscoping 2.0 workflow
↓
ROTO TARGET DESIGN
↓
AI INITIAL MATTE
↓
TRACK / PROPAGATE
↓
MANUAL KEYFRAMES
↓
OCCLUSION SPLITS
↓
HAIR / SOFT EDGE
↓
MOTION BLUR
↓
MATTE CLEANUP
↓
COMPOSITE TEST
↓
TEMPORAL QC
↓
FINAL MATTE
- Define exactly what must be isolated.
- Create an AI-assisted starting matte.
- Track and propagate through stable sections.
- Add manual corrections around occlusions and shape changes.
- Separate hair and soft-edge regions when needed.
- Preserve motion blur.
- Clean the alpha and inspect it in motion.
- Test the matte in the final composite.
- Version the approved matte for downstream VFX.
14. Final roto QC
- Check the target boundary.
- Check hair and fine detail.
- Check motion-blurred regions.
- Check occlusions.
- Check holes and accidental inclusions.
- Check edge chatter.
- Check frame-to-frame stability.
- Check the matte against the final background.
- Check alpha premultiplication and edge color.
- Watch the entire shot at normal speed.
How this fits the Zgian VFX + AI pipeline
AI ROTO 1.0 → AI Rotoscoping
AI ROTO 2.0 → this guide
AI KEYING → AI Green Screen & Keying
AI COMP → AI Compositing
AI CLEANUP → AI VFX Cleanup
Frequently asked questions
Is AI rotoscoping fully automatic?
AI can automate much of the initial isolation and propagation, but difficult production shots still need artist review and correction.
Why does AI roto fail around hair?
Hair contains fine, semi-transparent and motion-blurred pixels that are difficult to represent as a simple solid mask.
Should I use one mask for a whole person?
For simple shots it can work, but complex shots are usually easier to control when body, hair, hands and props are separated where necessary.
How often should I add roto keyframes?
Add them where the object’s shape or relationship to other objects changes. Stable sections can often be propagated; difficult sections need more frequent correction.
How do I know if a roto is finished?
The matte should remain stable through the complete shot, preserve important edge detail and work naturally when used in the final composite.
Continue the Zgian VFX + AI series
3D Generalist & VFX Professional · About the author →